Seasoning a cast-iron pan with oil
First of all, it's important to know that you can season a cast-iron pan with oil or with a conditioner. In the explanation below, we assume using natural oil. If you want to season your cast-iron pan with The Windmill conditioner, you can find the step-by-step plan in this article.
First: use the right (natural) oil!
A cast-iron pan can be seasoned with natural oil. It is important to use a pure oil that can withstand high temperatures. Below are the types of oil that are suitable for seasoning a cast-iron pan.
- Semi-refined sunflower oil (smoke point: 232°C)
- Rice oil (smoke point: 255°C)
- Refined rapeseed oil (smoke point: 242°C)
- Avocado oil (smoke point: 271°C)
- Refined peanut oil (smoke point: 232°C)
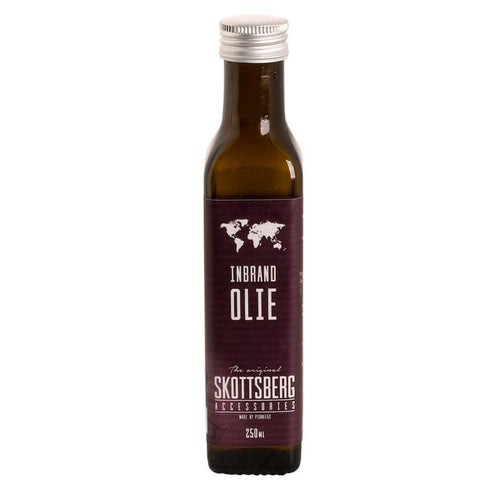
- Skottsberg Seasoning Oil
Below are the types of oil that are not suitable for seasoning a cast-iron pan, because they have a lower smoke point than necessary.
- Extra virgin olive oil
- Linseed oil
- Butter
Below we explain how to season a cast-iron pan step-by-step.
Step 1: cleaning
After use, first make sure the cast-iron pan is clean before you season it. Even if the pan is brand new out of the box and you are going to season it immediately, you must first clean the pan thoroughly! A protective layer may have been applied at the factory to protect the pan during transport and in the store. Clean the pan with hot water, dish soap, and a sponge. Please note: only use dish soap if you are going to season the pan afterwards.

Step 2: dry the pan thoroughly
Very important... dry the pan thoroughly before proceeding. Use a dry cloth or paper towel for this. Then place the pan on low heat for a while to dry completely. This will open up the pores of the pan and allow all moisture to escape. You can also place the pan in a preheated oven at 180°C for 15 minutes.
Step 3: first seasoning
The first time you season the pan, spread a thin layer of oil in the pan. Do this with a paper towel and apply the oil everywhere in the pan (including the raised edges). You can also oil the outside of the pan. Make sure not to apply the oil layer too thickly, as it won't adhere then.
Then place the cast-iron pan over medium heat and let it get hot. Don't forget to turn on your extractor fan, because when the oil gets hot, it will smoke. The pan will change color a bit, which is completely normal. When the oil smokes well, remove the pan from the heat and let it cool down.

Step 4: continued seasoning
Once the pan has completely cooled, rinse it and repeat step 3 at least five times. Sometimes it's better to repeat this process even more often. Your cast-iron pan will turn black, which is part of the seasoning process.
After seasoning, you must ensure that you no longer clean the pan with detergent. If you do, you will remove the seasoned layer. So, only rinse your pan with hot water.
The more often you repeat this step, the better the result will be. The pan gets darker and darker. We advise you to repeat step 3 about five to eight times.

Optional: seasoning with a conditioner
Would you like to season a cast-iron pan with The Windmill conditioner? You can read how here!
Want to enjoy the patina layer for as long as possible?
Do not store food in the pan, as changes in taste and/or color may occur. In addition, food can also affect the patina layer or the pan may rust. Especially if you cook with ingredients that contain acid, such as tomatoes, wine, or lemon, it is important to provide the pan with a good patina layer. The acids affect the patina layer, so if the patina layer is too thin, it will disappear more quickly.
Did you find this article useful or do you have any helpful tips worth sharing? Let us know!